how to make paint on a pumpkin dry faster
Step 2 Give it a base coat. Make sure its free of bruises and blemishes.

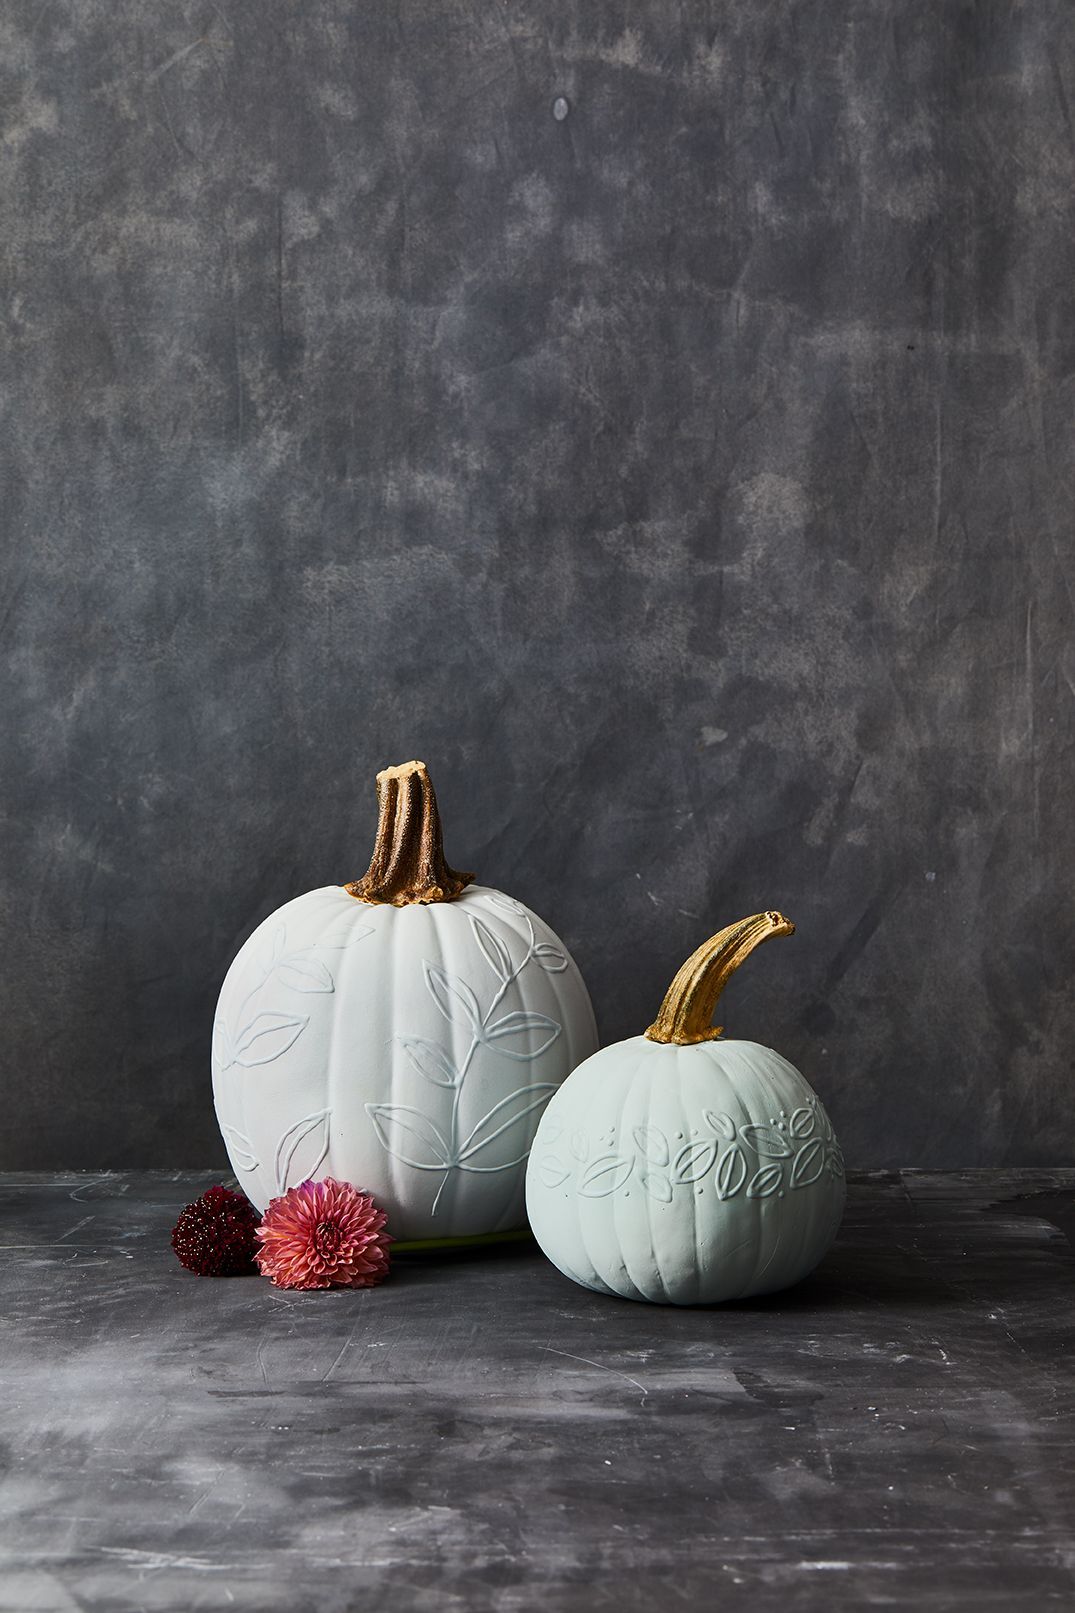
Ceramic Pumpkin Painted With Duncan Envision Sprinkles Glaze Painted Pumpkins Ceramic Painting Ceramic Molds
Once your surface is dry youll want to grab all of your paint colors and your acrylic artist brushes.

. Apply the sealer to the first half allow to dry then apply to the second half. Applying a light coat to interior paint may make the painting dry faster. Then Courtney bought a pumpkin painting kit that included stencils silver and black paint brushes and clear crackle paint.
Check the gourds periodically to rotate them. Like embellishment painting a pumpkin is a good alternative to carving for those who might not be quite up to the task. Use your 12 bright flat brush to paint the smaller bump areas in the back of the pumpkinAlso use primary yellow to paint a few strokes on some of the bumps.
Pumpkin Damp sponge Paper towels ScotchBlue painters tape Paint brushes Acrylic paint Sealant spray Step 1 Clean the pumpkin and dry it off. Try to picture yourself holding a flashlight on the left side of the pumpkin and seeing the edge of the. Coat your object in paint in the patterns or colors.
Apply thinner layers of paint using different techniques or solvents Paint in a Well-Lit Well-Ventilated Area This can be in a shady spot outdoors or indoors with open windows. Next they put newspapers down in the garage to keep paint from getting on the floor. You can use any type of spray paint.
Dry brushing with paint will give this green pumpkin the real look of an Heirloom green gourd. Use a DIY peppermint pumpkin spray. Try patterns featuring thin dashes stars polka dots or squiggles.
Avoid direct sunlight which can bleach the color. Then without rinsing the brush add white to the tip. Make sure to provide space between the slices to allow the air to circulate around them.
When painting a wall it is tempting to get as many coats as possible from the wall at once so use thicker coats to prevent the paint from drying out too easily. Make these yellow strokes go in the same direction as the orangewhite strokes. Let it dry before you paint it.
Apply sealer to your pumpkin. Cut the skin from the pumpkins and cut the flesh into slices. You want air to flow all around the pumpkins.
Grab your round brush and mix Cobalt Blue paint and Payens Gray paint to make a light gray-blue mixture. Start by making an oval shape with the Chocolate Brown. Spread the slices out evenly on a tray and lay them in the sun to dry for about two days or until completely dry.
Simply use a rag to apply and let dry before moving onto your next steps. Coat the object with wax-based furniture polish. Once youve mastered this design feel free to switch it up.
Then set the timer for 15-20 minutes. Again add another real stem. Then with the brown paint and your small round brush paint this line by the stem as shown.
If not microwave again for 5 minutes. So next begin to apply chalk paint to the pumpkin. Place the pumpkins on the rack and make sure there is space between each pumpkin.
Set the microwave oven to high. Paint in the stems solid brown. The fall season is already upon us and Halloween is right around the corner.
Painting a layer of sealer or varnish from a hobby or craft store can help the paint stick and the pumpkin last longer. Because the pumpkin is round you will need to work on it one-half at a time. If your pumpkin has a price written on it in grease-paint GooGone will get rid of it.
Prepare your pumpkin for painting. You only need a little yellow and it will blend with the orange. How to paint a pumpkin.
This helps to create some color variation in the pumpkin. They painted the entire pumpkin black and used a hairdryer to make it dry faster. Spray paint your object and then let dry for 5 minutes.
Apply Base Sealer Coat. If You Wait Until Tomorrow You Will Get a Different Painting Number. Immediately discard any pumpkins that have mold or rot.
Paint a line on the top of the stem. Mix together 12 ounces of water with 10 drops of peppermint oil. Set up a wire rack or pallet in a cool dry location in your home.
Then they painted a coat of clear crackle paint over it. Use a hair dryer or heating system. Use the gray-blue paint mixture to draw out the base of the pumpkin.
Add another line on the side to represent light hitting the stem. Dry brushing paint to make pumpkins look real is hard on brushes so again use chip brushes. With some paint and brushes you can make a fabulous decoration.
Store in a dry shaded area. Then add C shaped strokes to create a large pumpkin shape. Acrylic paints will last the longest but childrens poster paint will work too.
To give the pumpkin more of a 3-D effect use white acrylic paint and outline only the right sides which imitaties light reflecting. Give your pumpkins plenty of time to dry. Join me for a short lesson on how to paint a Pumpkin.
This is a fast process. Using your 1-inch brush and a lighter color add short brushstrokes about 1-inch long all over the pumpkin until completely covered. Painting Small Fake White Pumpkins.
Letting the paint dry slightly will prevent the furniture polish from streaking your. Steam the pumpkin slices in a steamer or in a pot on the stove top for six minutes. Use a soft cloth to gently wipe off any dirt or debris.
The layer must be completely dry between coats before you apply your final coat. Repeat with both pumpkins. After 20 minutes get a slice to check if crunchy.
Spray your pumpkin at least once each week especially around the carved edges. Depending on how fast your paper dries its ok to use clean water to prewet your pumpkin area to keep your pumpkin from drying before you are done painting it in. Peppermint has antifungal properties which can help keep your pumpkin from molding.
Here I will teach you the. Step 3 Let it dry for 24. Allow the dried slices to cool for 5.
Use a chemical drying agent in the initial layers to speed things up. Wash your pumpkin or wipe it down to get rid of any dust or dirt. In general black paint is rather opaque for making ornaments on pumpkin but if the pumpkin has a darker color such as brown blue and yellow youll probably want to apply at least two coats.
How Fast Does Paint Dry On Pumpkin.

Genius Pumpkin Decorating Ideas To Try This Halloween Creative Pumpkin Decorating Pumpkin Decorating Painted Pumpkins

How To Paint Pumpkins The Right Way Scraplifters Com Pumpkin Painting Party Halloween Pumpkins Painted Pumpkin

Garfield Painting Using Acrylic Paint Artwork Small Pumpkins
70 Best Pumpkin Painting Ideas Painted Pumpkins For Halloween 2021
How To Get An Aged Zinc Look At Home With The Barkers Fall Diy Fall Crafts Crafts

Tips For Painting Pumpkins Faux And Real A Wonderful Thought

The Best Painted Pumpkin Ideas From The Martha Stewart Living Staff Painted Pumpkins Pumpkin Halloween Decorations Pumpkin Decorating

Pin On Pumpkin Painting

White Painted Pumpkin Diy Stonegable

Vintage Inspired Chalky Paint Pumpkins Pumpkin Decorating Diy Fall Fall Thanksgiving

Jarrahdale Blue Pumpkin Seeds Cinderella Fairytale Winter Etsy Jarrahdale Pumpkin Blue Pumpkins Pumpkin Seeds

Rose Gold Pumpkins Use Metallic Copper Krylon Spray Paint To Evenly Coat Clean Dry Pumpkins Tape Off Stal Pumpkin Gold Pumpkins Pumpkin Centerpieces Wedding

A Haunted Home Not So Fast Painted Gourds Hand Painted Gourds Halloween Gourds

Creepy Pumpkin Tutorial Made With Cotton Balls And Modge Podge Creepy Pumpkin Pumpkin Fake Pumpkins

Diy Faux Mercury Glass Pumpkins With Foam Pumpkins Foam Pumpkins Glass Pumpkins Fall Decor Diy

Art Projects For Kids What You Can Do With Orange Tape Halloween Pumpkins Pumpkin Decorating Halloween Crafts

Pumpkin Orange Deep Space Black Plutonium Paint Plutoniumpaint Twitter Pumpkin Spray Paint Diy Spray Paint Spray Paint Projects

49 Easy Pumpkin Painting Ideas To Try This Year Decorating Pumpkins Without Carving Pumpkin Decorating No Carve Pumpkin Decorating

Pin By Miguelina Delgado On Crafty Craft Pumpkin Carving Pumpkin Christmas Bulbs